Did you know that about 1 in 4 Americans have faced a data breach, mainly from email hacking? Since email is crucial in our digital lives, it's important to keep it secure. Gmail authentication provides strong tools to help protect your account.
Whether you're looking to secure personal information or avoid phishing scams, using Gmail authentication is key. In this guide, we’ll show you simple steps to help keep your email safe.
What is Email Authentication?
Email authentication is a critical process that verifies the legitimacy and integrity of an email message. It establishes trust between senders and recipients by ensuring the sender’s identity is verified.
Email authentication relies on several methods and standards, including SPF, DKIM, and DMARC. These methods work together to prevent spam, phishing, and other malicious activities.
Understanding the fundamental concepts of email authentication is crucial for securing your communications. Email authentication helps to:
- Prevent spam and phishing attacks: By verifying the sender’s identity, email authentication reduces the risk of malicious emails reaching your inbox.
- Protect your brand reputation: Ensuring that your emails are legitimate helps maintain your brand’s credibility and trustworthiness.
- Improve email deliverability: Authenticated emails are more likely to reach the intended recipient’s inbox, rather than being flagged as spam.
- Enhance recipient trust: Recipients are more likely to trust and engage with emails that are authenticated.
By implementing email authentication, you can ensure that your emails are delivered to the intended recipient’s inbox, rather than being flagged as spam or phishing attempts.
What is Gmail Authentication?
Gmail authentication is a way to protect your email account from hackers. It adds extra layers of security to make sure only you can access your account.
Importance of Gmail Authentication
Gmail authentication is crucial for safeguarding your email from hackers and cyber threats. It ensures that only authorized users can access your account using tools like Two-Factor Authentication (2FA), SPF, and DKIM.
These methods prevent phishing attacks, protect against forged sender addresses, and build trust in your email communications. Secure your account to stay protected!
"Track open rates, reply rates, and spam protection metrics with Alore’s powerful email analytics dashboard. Take control of your email campaigns today!"
Step-by-Step Guide to Setting Up Gmail Authentication
Step 1: Enable Two-Factor Authentication (2FA)
Two-Factor Authentication adds a second step to logging in.
- Go to your Gmail account settings.
- Click on "Security" and choose "2-Step Verification."
- Follow the prompts to link your phone or authenticator app. Now, even if someone steals your password, they can’t log in without your phone.
Step 2: Generate an App Password (For Third-Party Apps)
Some apps, like email clients, need their own special password.
- Open Gmail settings and go to "App Passwords."
- Choose the app and device you want to use.
- Gmail will give you a unique password to enter into the app. This ensures third-party apps are secure and work smoothly.
Step 3: Configure Gmail in Your Application
If you’re using Gmail in another app, like Outlook, it needs proper setup.
- Add your Gmail account in the app.
- Enter the app password generated earlier.
- Ensure the app supports secure authentication methods like OAuth 2.0. This keeps your email synced and safe.
Step 4: Test the Authentication
Always check if everything is working.
- Send a test email from your app.
- Check if it arrives in your Gmail inbox. If it works, your authentication setup is complete!
Step 5: Monitor Account Activity
Stay alert for suspicious logins.
- Visit the "Recent Activity" section in Gmail settings.
- Review the list of IP addresses that accessed your account. If you notice unknown activity, change your password immediately.
Other Key Authentication Methods to Use Along with Gmail
1. OAuth 2.0 for Secure Third-Party Access
OAuth 2.0 allows you to log in to apps without sharing your Gmail password. Instead, it gives apps temporary access to specific parts of your account. This method prevents apps from storing or misusing your password. It’s widely adopted by trusted services like Google Apps and email providers.
How to use it:
- When an app asks to access Gmail, it redirects you to Google’s secure login page.
- You approve or deny the request.
- OAuth handles the authentication safely.
2. SPF (Sender Policy Framework)
SPF ensures only authorized IP addresses can send emails from your domain. SPF helps Gmail identify emails from fake senders and stops them from landing in your inbox.
It reduces the risk of phishing attacks and forged sender addresses. SPF compares the actual IP address of an email sender to a designated list of authorized IP addresses to ensure secure sending practices when you send mail.
How to set it up:
- Add an SPF record in your domain’s DNS settings.
- List all the IP addresses authorized to send emails on your behalf.
- Test the setup to confirm it’s working.
3. DKIM (DomainKeys Identified Mail)
DKIM adds a digital signature to your emails to prove they haven’t been altered. DKIM ensures that your email messages are authentic and haven’t been tampered with. It builds trust with recipients, especially for businesses.
How to set it up:
- Generate a private key for your domain.
- Publish the corresponding public key in your DNS records.
- Gmail uses the key to verify email integrity.
4. DMARC (Domain-based Message Authentication, Reporting, and Conformance)
DMARC works with SPF and DKIM to prevent spam and phishing attacks. It provides detailed reports on unauthorized email activity. DMARC combines multiple methods to give you better control over your email domain. It ensures your emails don’t end up in the spam folder.
How to set it up:
- Create a DMARC record in your DNS.
- Define policies for handling unauthorized emails (reject, quarantine, or allow).
- Monitor forensic reports for suspicious activity.
"Save time and effort by automating your SPF, DKIM, and DMARC setup with Alore’s seamless email management tools. Start securing your domain in minutes!"
How to Verify DKIM Authentication
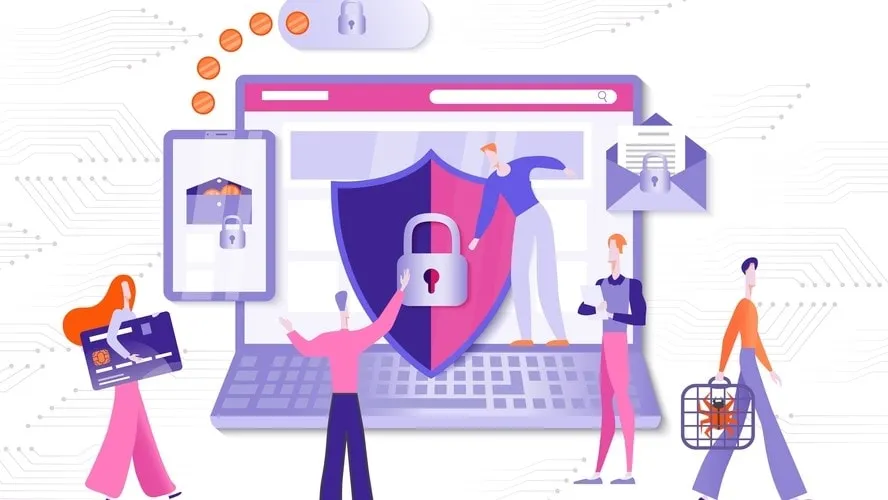
Verifying DKIM (DomainKeys Identified Mail) authentication is essential for ensuring your email messages are secure and trustworthy. Verifying DKIM ensures your emails don’t end up in the spam folder.
It builds trust with the sender's domain recipient’s email client, like Gmail or Outlook. Proper DKIM settings protect against phishing attacks and unauthorized changes to your email messages.
Here’s a simple, step-by-step guide to help you understand and check DKIM settings:
- Access Your Domain Settings: Log in to your domain provider (e.g., GoDaddy, Namecheap). Open the DNS records section.
- Check for DKIM Records: Look for a TXT record named default._domainkey. This record contains your public key, which Gmail or other providers will use to verify the message signature.
- Send a Test Email: Use your Gmail account to send an email to a testing service like Google Apps toolbox. Alternatively, send it to a tool that analyzes DKIM and other authentication methods.
- Analyze the Email Header: Open the test email and view the message header. Look for a line that says DKIM=pass. This means DKIM is working correctly.
- Fix Any Issues: If the test shows DKIM=fail, review your DNS records. Ensure the private key on your email server matches the public key in your DNS settings. Update and retry the test.
Best Practices for DKIM Authentication:
- Always enable DKIM for your domain to ensure secure email communication.
- Combine DKIM with SPF authentication and DMARC policies for stronger protection.
- Regularly check your DKIM settings, especially if you update your domain or email server.
How to Keep Your IP Addresses Authorized for Email Sending

Authorized IP addresses are the servers allowed to send emails on your domain owner behalf. They prevent spammers from using your domain to send fraudulent emails. This is a key part of email authentication and protects your emails from being flagged as spam or phishing attempts.
Without authorization, receiving servers may reject or flag your emails. It ensures only trusted servers can send emails from your domain. This improves your email deliverability and protects your domain’s reputation.
Steps to Keep Your IP Addresses Authorized:
- Set Up SPF (Sender Policy Framework) Records: SPF is an authentication method that specifies which IP addresses are allowed to send emails for your domain. To configure SPF: Log in to your domain’s DNS settings. Add an SPF record with the authorized IP addresses. Save the changes and test using email authentication tools.
- Add DKIM (DomainKeys Identified Mail) Records: DKIM adds a digital signature to your emails, verifying they came from an authorized IP address. To set it up: Generate a private key for your domain. Publish the public key in your DNS records. Check your emails’ DKIM signature to ensure proper setup.
- Regularly Monitor Your IP Addresses: Use Gmail tools to check the IP addresses sending emails from your domain. Review message headers to ensure the sending servers match your authorized list. Remove any unauthorized IP addresses immediately.
- Implement DMARC Policies: DMARC (Domain-based Message Authentication, Reporting, and Conformance) works with SPF and DKIM. Set up a DMARC record in your DNS settings to monitor email activity. Receive forensic reports to identify unauthorized email sending.
Best Practices for Keeping Your IP Addresses Authorized
- Always update your SPF, DKIM, and DMARC records when adding new IP addresses.
- Use Google Apps or other reliable tools for managing email authentication.
- Check your inbox and spam reports for feedback on email deliverability.
"Boost your email deliverability by integrating Alore’s warm-up campaign features. Ensure your emails land in the inbox, not spam folders."
How to Ensure Brand Trust with BIMI
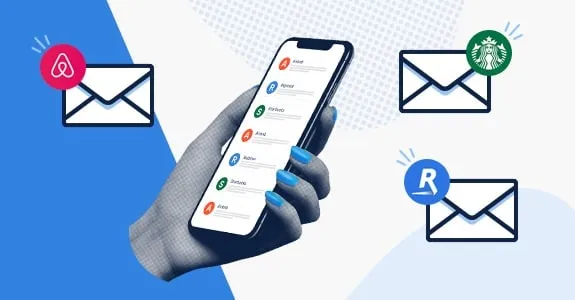
BIMI is a tool that displays your company’s logo next to your email messages. It works only when your emails are authenticated using methods like SPF, DKIM, and DMARC. It helps recipients instantly recognize your brand, reducing the risk of emails being mistaken for spam or phishing.
BIMI improves inbox trust by allowing email clients to display a brand's logo next to authenticated messages, helping recipients quickly identify the source and authenticity of the emails they receive, enhancing message identification.
Why Use BIMI:
- Increases Trust: Seeing your logo reassures recipients that the email is from your brand.
- Reduces Spam: BIMI works with email authentication methods to stop forged sender addresses and fake emails.
- Enhances Professionalism: Your logo in the inbox makes your brand stand out.
Steps to Set Up BIMI:
- Authenticate Your Emails: Ensure you have SPF, DKIM, and DMARC records configured correctly. These authentication methods validate that your emails come from trusted IP addresses.
- Create a Verified Logo: Design your brand’s logo and save it in SVG format. Follow BIMI guidelines to ensure your logo meets their standards.
- Get a VMC (Verified Mark Certificate): A VMC verifies that your logo belongs to your domain. Purchase a VMC from an authorized provider like DigiCert.
- Add BIMI DNS Records: Log in to your domain’s DNS settings. Add a TXT record that includes your BIMI information. Include the link to your SVG logo and the VMC file.
- Test Your Setup: Send a test email to check if your logo appears in supported email clients. Use tools like Gmail’s testing services for troubleshooting.
Best Practices for Using BIMI:
- Regularly update your BIMI records if your logo or VMC changes.
- Monitor message headers and reports for issues with email deliverability.
- Combine BIMI with other email authentication methods to ensure maximum security.
How To Address Testing and Troubleshooting

Testing and troubleshooting your email authentication setup is essential to ensure optimal security. Here are some steps to help you test and troubleshoot common issues:
- Verify your DNS records: Ensure that your SPF, DKIM, and DMARC records are correctly set up and propagated. This is the first step in confirming that your email authentication methods are in place.
- Test your email authentication: Use online tools or services to test your email authentication setup and identify any issues. These tools can provide detailed reports on the status of your SPF, DKIM, and DMARC records.
- Check your email headers: Verify that your email headers are correctly formatted and contain the necessary authentication information. This includes checking for SPF, DKIM, and DMARC results in the message headers.
- Monitor your email deliverability: Keep an eye on your email deliverability rates and adjust your authentication setup as needed. If you notice a drop in deliverability, it may indicate an issue with your authentication settings.
Common issues to troubleshoot include:
- Authentication failures: Verify that your SPF, DKIM, and DMARC records are correctly set up and propagated. Ensure there are no typos or misconfigurations in your DNS records.
- Email deliverability issues: Check your email headers and authentication setup to ensure that your emails are being delivered to the intended recipient’s inbox. Use email authentication tools to diagnose and resolve deliverability problems.
- Spam and phishing attacks: Implement additional security measures, such as content filtering and recipient verification, to prevent spam and phishing attacks. Regularly review your email security policies and update them as needed.
Best Practices for Email Security
Maintaining robust email security requires a combination of technical and administrative measures. Here are some essential practices to protect your communications:
- Implement email authentication: Use SPF, DKIM, and DMARC to verify the legitimacy and integrity of your email messages. These methods help ensure that your emails are not forged or tampered with.
- Use secure email protocols: Use secure email protocols, such as TLS, to encrypt your email communications. Encryption helps protect your emails from being intercepted and read by unauthorized parties.
- Monitor your email activity: Keep an eye on your email activity and adjust your security measures as needed. Regularly review your email logs and reports to detect any suspicious activity.
- Educate your users: Educate your users on email security best practices, such as avoiding suspicious emails and attachments. Training your team on how to recognize and respond to phishing attempts can significantly reduce the risk of a security breach.
- Regularly update your software: Regularly update your email software and plugins to ensure that you have the latest security patches and features. Keeping your software up-to-date helps protect against known vulnerabilities.
By following these best practices, you can maintain robust email security and protect your private keys and communications from threats. Implementing strong email authentication methods and staying vigilant about email security will help safeguard all your online accounts and ensure your emails are delivered safely.
"Ready to secure your communications? Alore provides the tools you need to protect your emails from phishing and build recipient trust."
Conclusion
Securing your email with Gmail authentication is essential in today’s digital world. By using tools like SPF authentication, DKIM authentication, and email authentication methods, you protect your emails from phishing attacks and forged sender addresses. Remember to authorize your IP addresses and check your message headers regularly. These steps build trust and keep your emails safe. Take action today to enjoy a secure and reliable email experience!

.webp)


.png)

.png)
